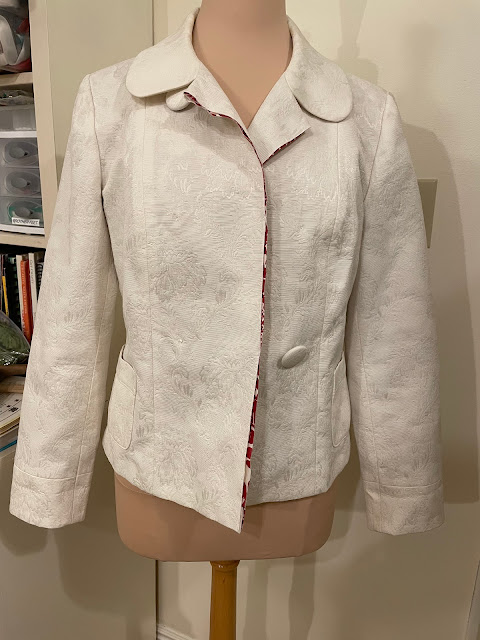
This is a beautiful Talbots jacket that I acquired while thrifting. It is a jacquard weave damask fabric with a fun red/white print lining. I am not a fan of double-breasted jackets, mainly because I love to keep my jackets open. Because of this, I decided to convert the front closure to a single-breasted closure. Here is how I did it and you can too!
Instagram--@julannblakedesigns


The jacket was also a little boxy, so I tried it on to determine how much I wanted to take in the vertical seams. I pinned in the side seams a little bit to contour the silhouette and give me a more fitted look.
After identifying where center front is on the left and right jacket fronts, add in your desired seam allowance and draw a line.
Cut this amount off. You want to make sure that you completely cut the buttonholes off. Save the scraps for practicing the new buttonholes.
Here is what it looks like. Now I have a large opening to turn the jacket inside out.
Finish the side seams before sewing the fronts.
You will need to make another opening in the jacket for turning it back right side out. The is usually in the sleeve lining. You can identify this by the edgestitching. If you cannot find it, just unpick an opening in the sleeve lining yourself.

Sleeve lining seam is unpicked for about 12".
Turn the jacket completely inside out. You can see where I transferred the pins to the wrong side of the jacket side seams so that I can take the seams in.

After sewing the new seams, unpick the original stitching, and trim the seam allowances down. Also take in the lining the same amount.
Press the seams open and use the clapper to train the fabric to stay open. The lining seams can be pressed to one side.

The original jacket had 90 degree corners at the bottom front hem, but I decided to change the shape to a curve so that it would match the curved style edge of the collar. I made a paper template matching the collar curve.
With the jacket inside out, find the front bottom corners and draw in your curved stitching lines. Blend it to the hem fold.
Pin in place, keeping the jacket fabric flat and smooth.
Sew the new center front seams, curving around the bottom curved corners.
Trim and notch the seams and curves. I like using my pinking shears around the curves. It is like mini "notches."

Tack down the jacket facing for about 1".

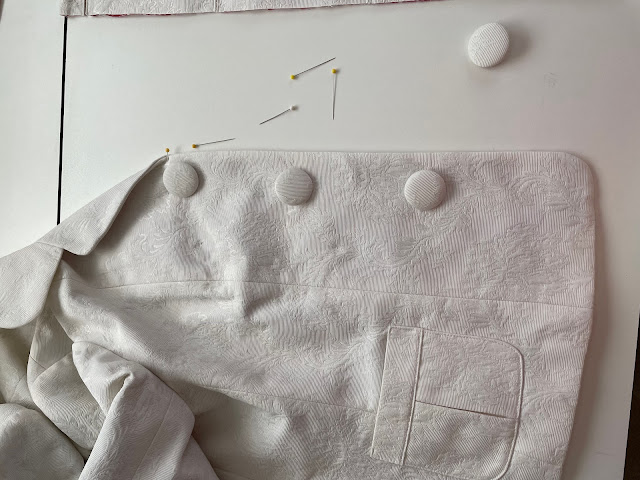
Now I get to decide the button placement. Do I want four buttons or three? I decided on three buttons.
I gently pressed down the new roll line for the lapel. I put a pin to show where the break would be.
Here is what the original buttonholes look like. Because they are so long, I am not able to make keyhole buttonholes using my Bernina machine.
Button and buttonhole placement is important.
The buttonhole should begin where the middle of the button is placed. I like to have the buttons offset from the front edge about 1/4".
I decided to practice some buttonholes to make sure I got them right. The buttonholes were so long that I needed to do manual buttonholes on my Bernina machine, since the automatic buttonhole foot would not make them long enough for the extra large buttons.
Practicing the manual buttonholes with my Bernina #3 buttonhole foot. I have basted some stitches to show my buttonhole placement. I want each buttonhole to be centered and the same length.
Testing out the button placement on the edge of the horizontal buttonhole. It looks like the button is 1/4" from the front edge, which is just what I wanted.
Here is my finished single-breasted jacket! I love how the jacket bottom now curves like the collar and lapel.
SEW***CREATE*** LIVE
*****
***
*


