
This post is demonstrating the front tuck lining with three sample pieces: The jacket, the lining, and the jacket facing.
 |

Pin the lining to the front facing piece, right sides together. Mark a pin 3" up from the bottom. Stitch together down to the pin marking. Press seam towards the lining.

Pin the facing to the jacket front, right sides together. (TIP: If you want even curves to the two jacket fronts, cut on the curved stitching line to make a template. Then place pattern on the wrong side of the facing. Use chalk to mark the stitching line.)

Here is the chalked stitching line.

Double check where the hem DOT is and mark with pin or chalk.


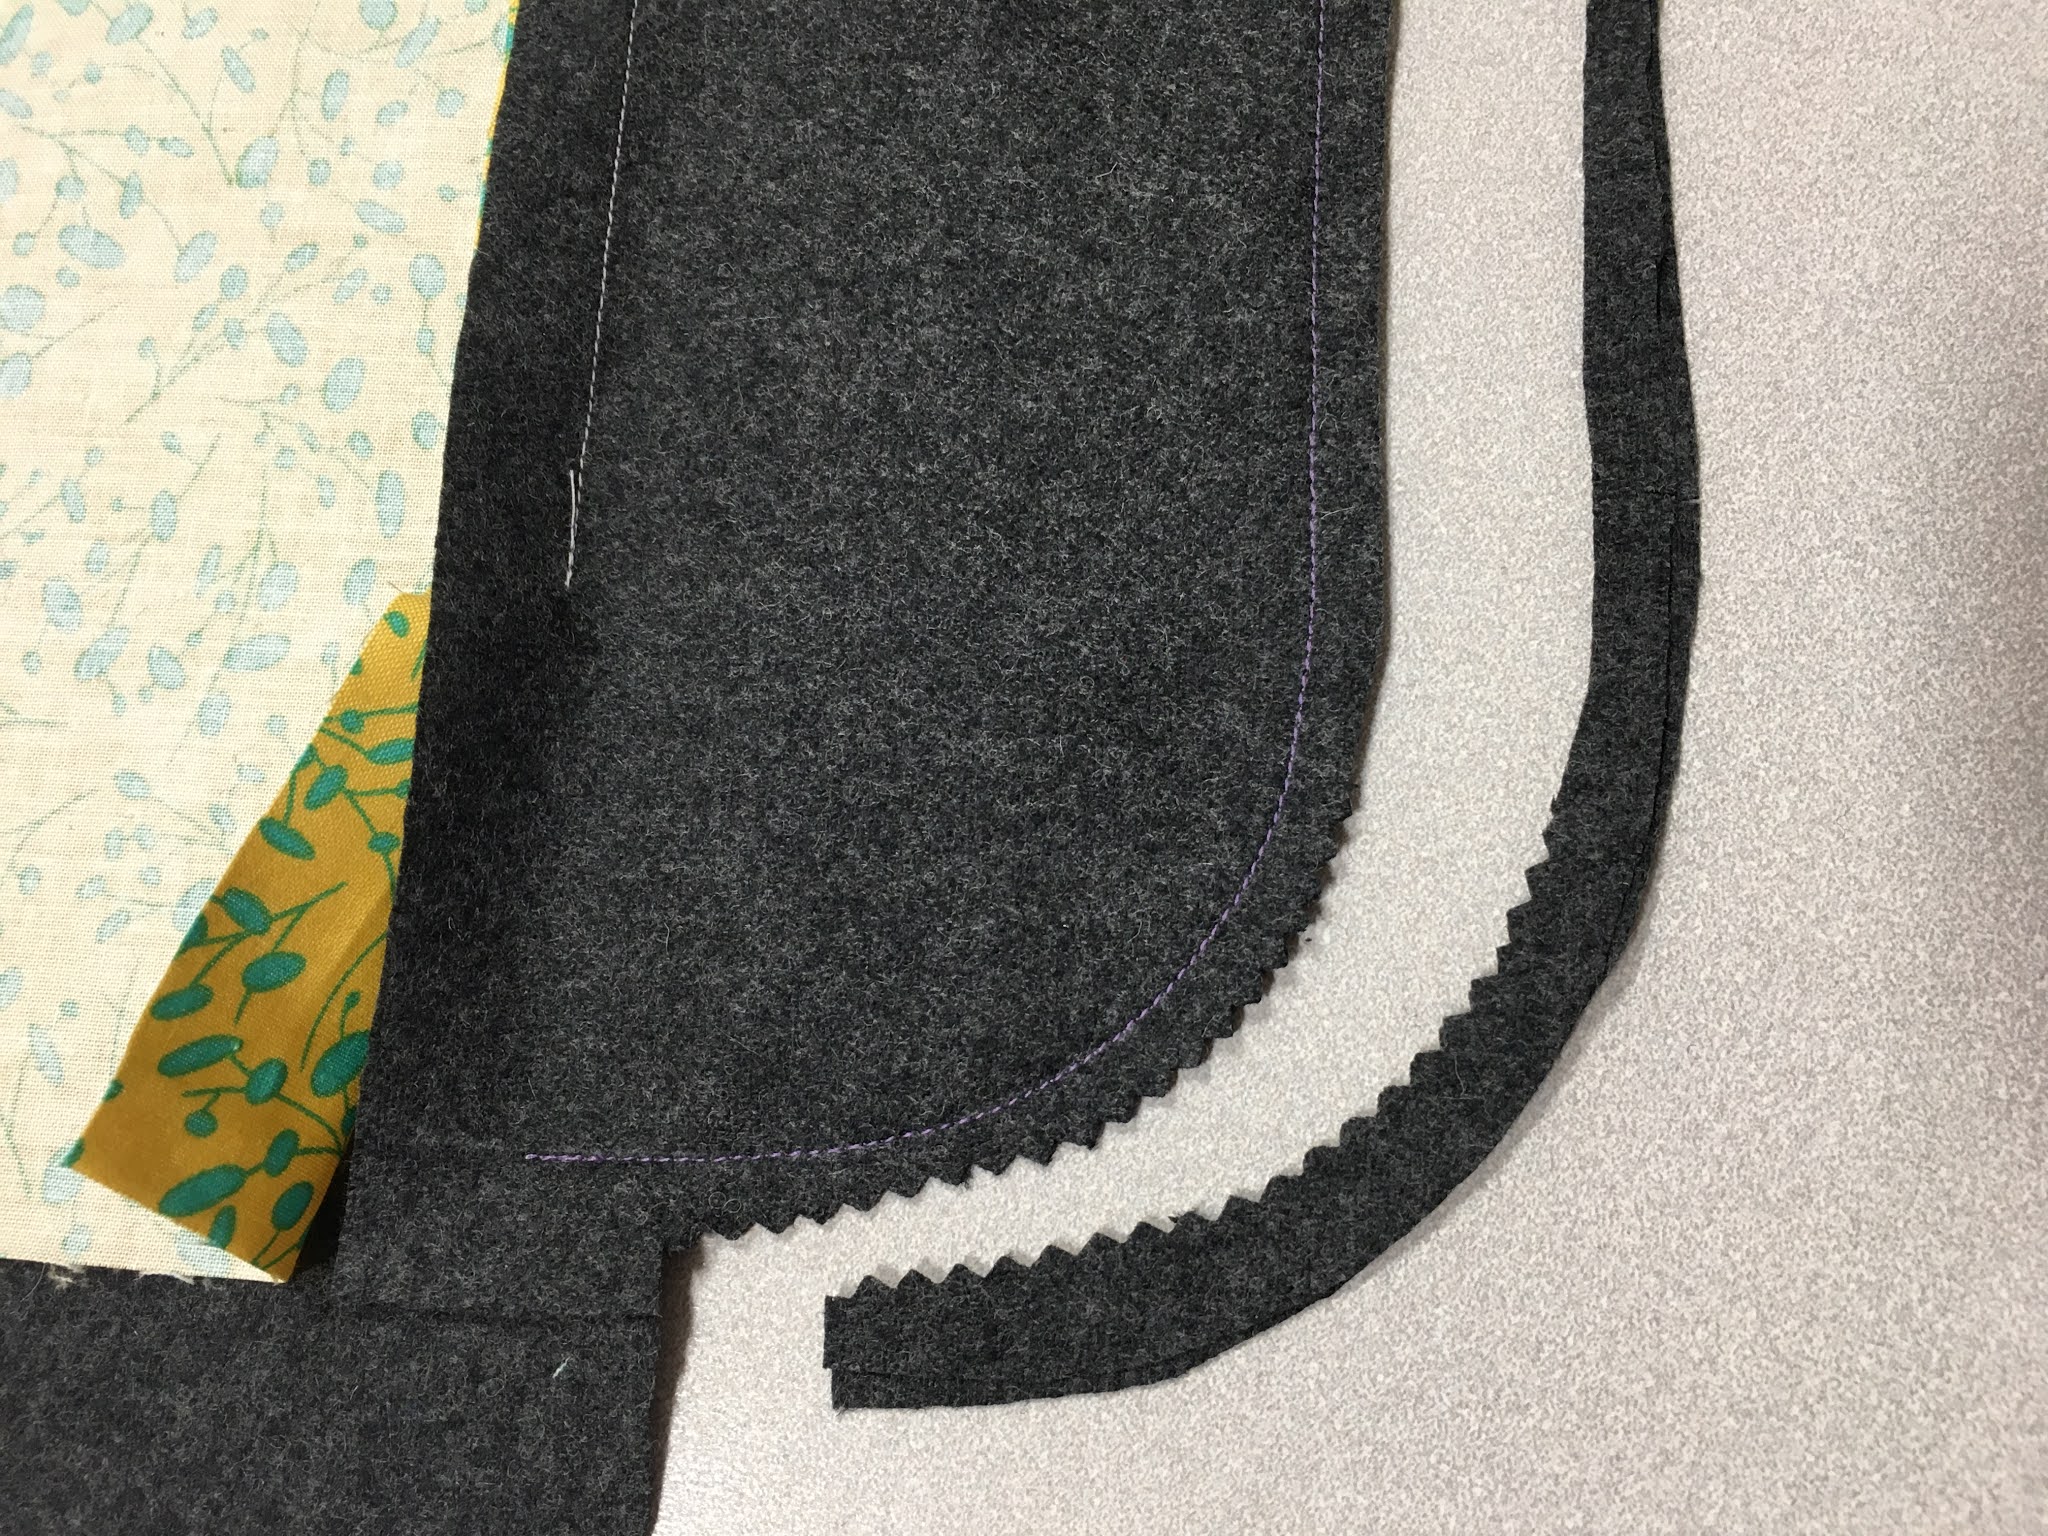
Trim and grade seam allowances. Using pinking shears around the curve will help eliminate bulk.
Pin the bottom of the lining to the bottom of the jacket hem.

Stitch this seam.


Fold up the bottom hem 1 1/2" near the clip.

Align raw edges and pin lining to jacket.

Finish stitching the seam to the hem DOT.

This is what it will look like.

Turn jacket right side out and check before trimming, grading, and pressing.
