DOUBLE WELT POCKET WITH/WITHOUT POCKET FLAP

These instructions will teach you how to easily and accurately make a tailored double welt pocket, with or without a lined pocket flap.
Take a piece of non-woven, non-fusible interfacing 3" x 8" and draw two parallel pencil lines lengthwise in the center, 1/2" apart. Then mark two perpendicular lines 5 1/2" apart and centered, or whatever width pocket opening you wish.
Disclaimer: I am sewing my pocket to sample fabric, not a garment. That is why my fabric pieces will look so small.
Cut pocket lining 8" x 15 - 18", depending on how deep you want your pockets. Cut welt piece and facing piece out of fashion fabric 3" x 8". Note: You will only need to cut one per pocket if you choose to add pocket flaps. Pocket flap instructions will be later.
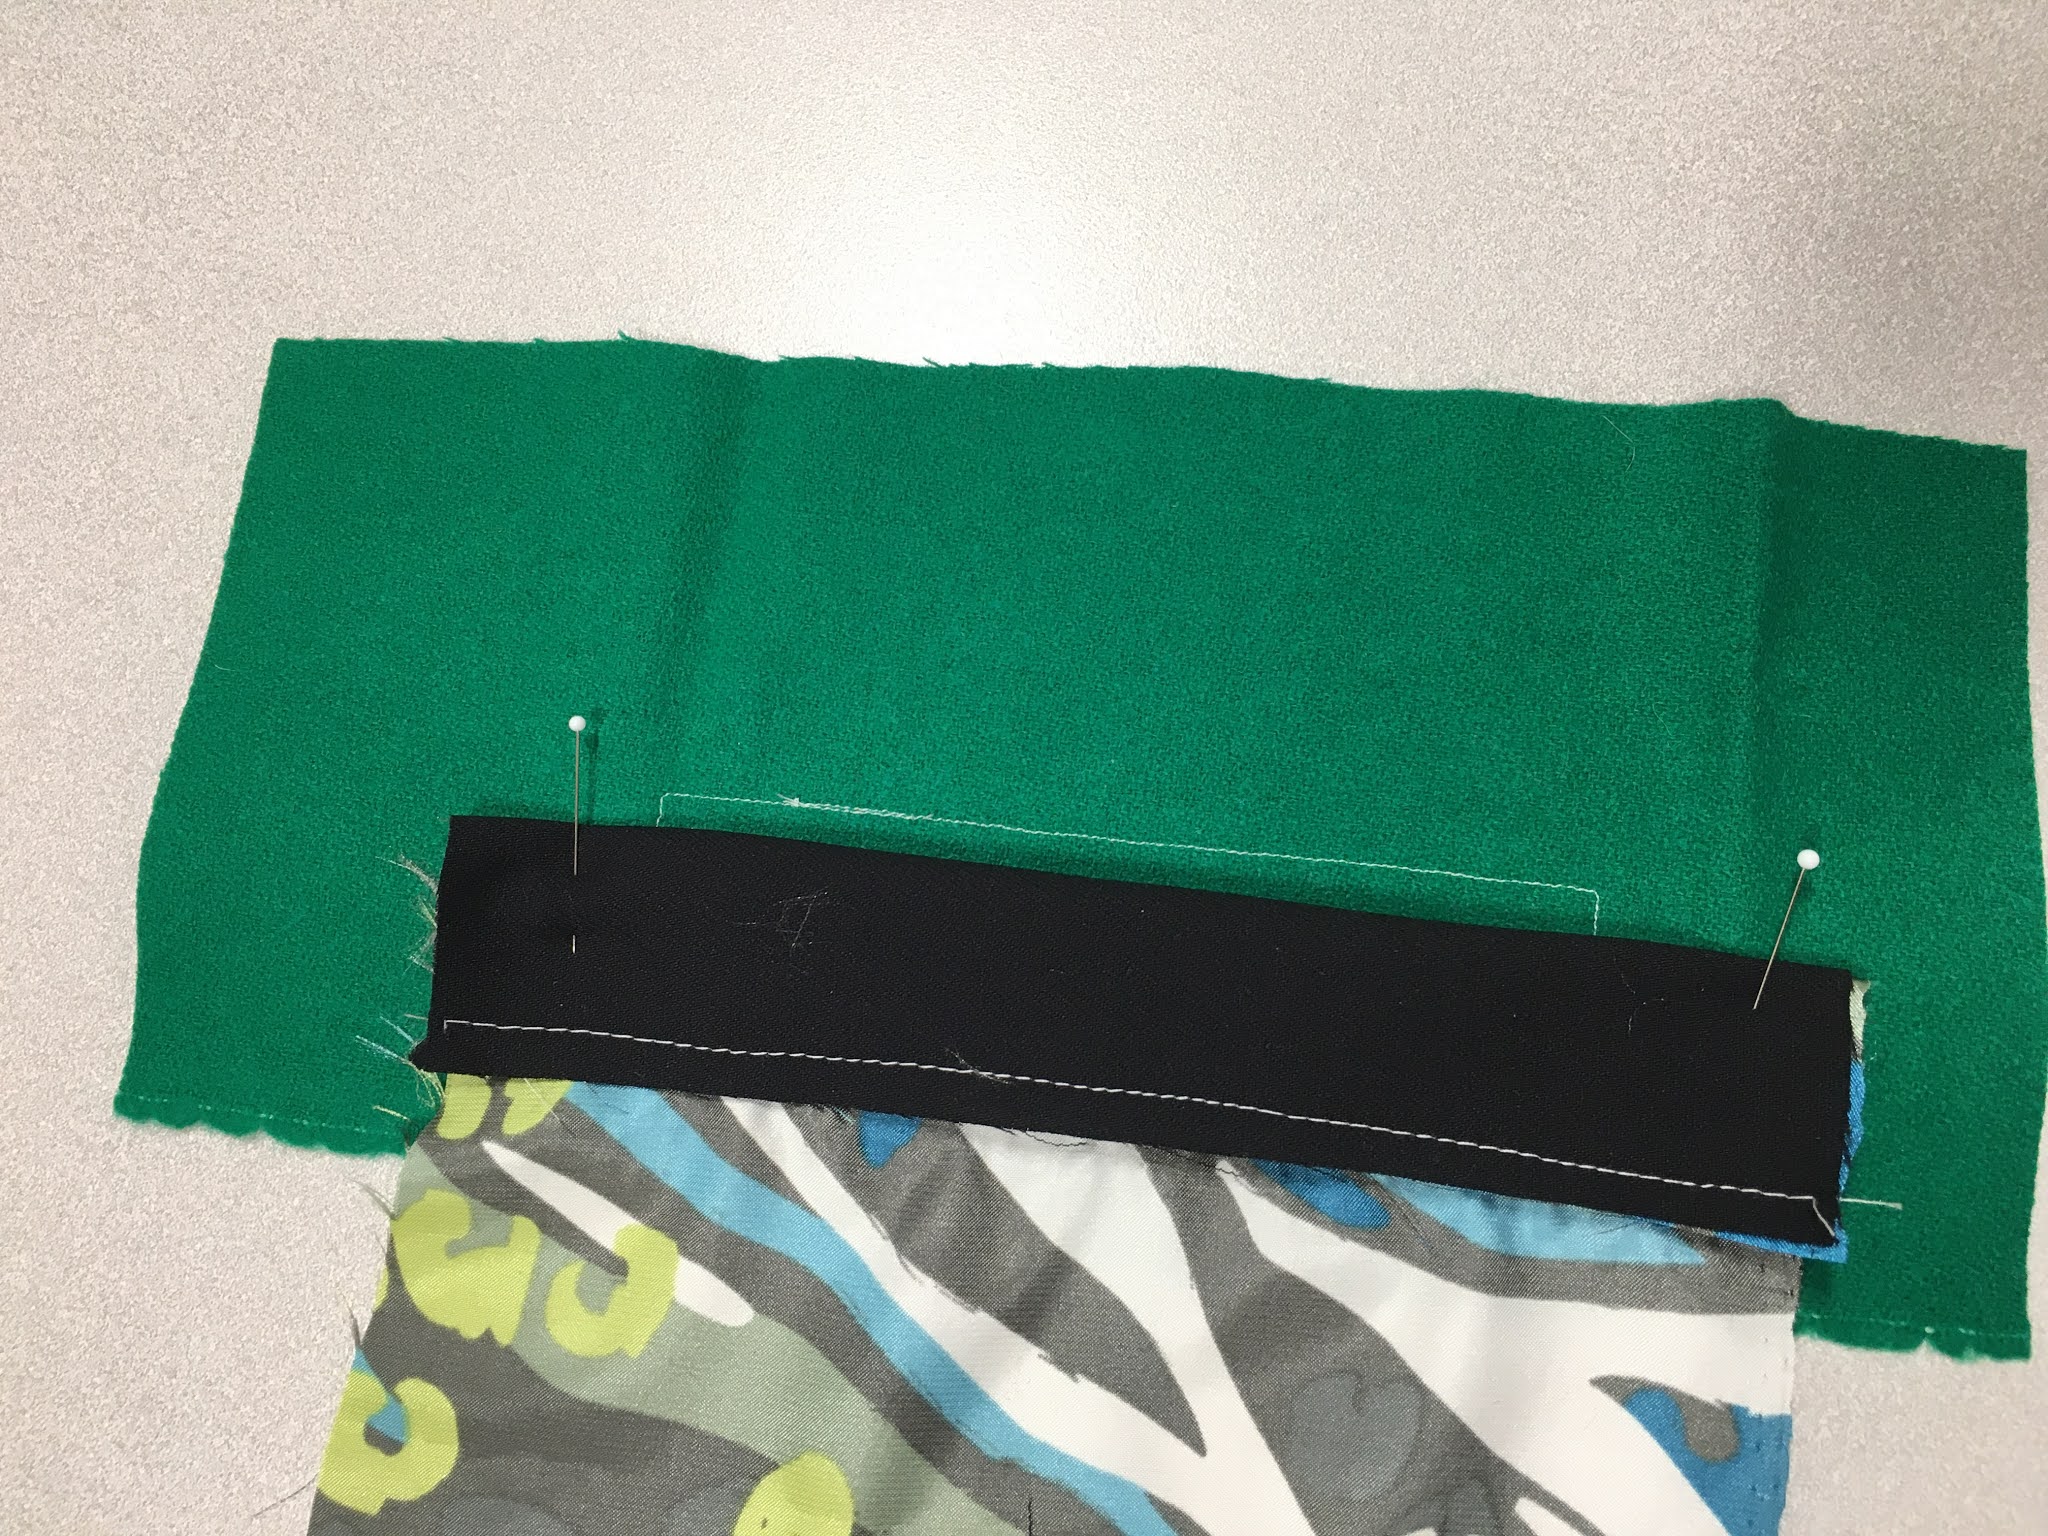
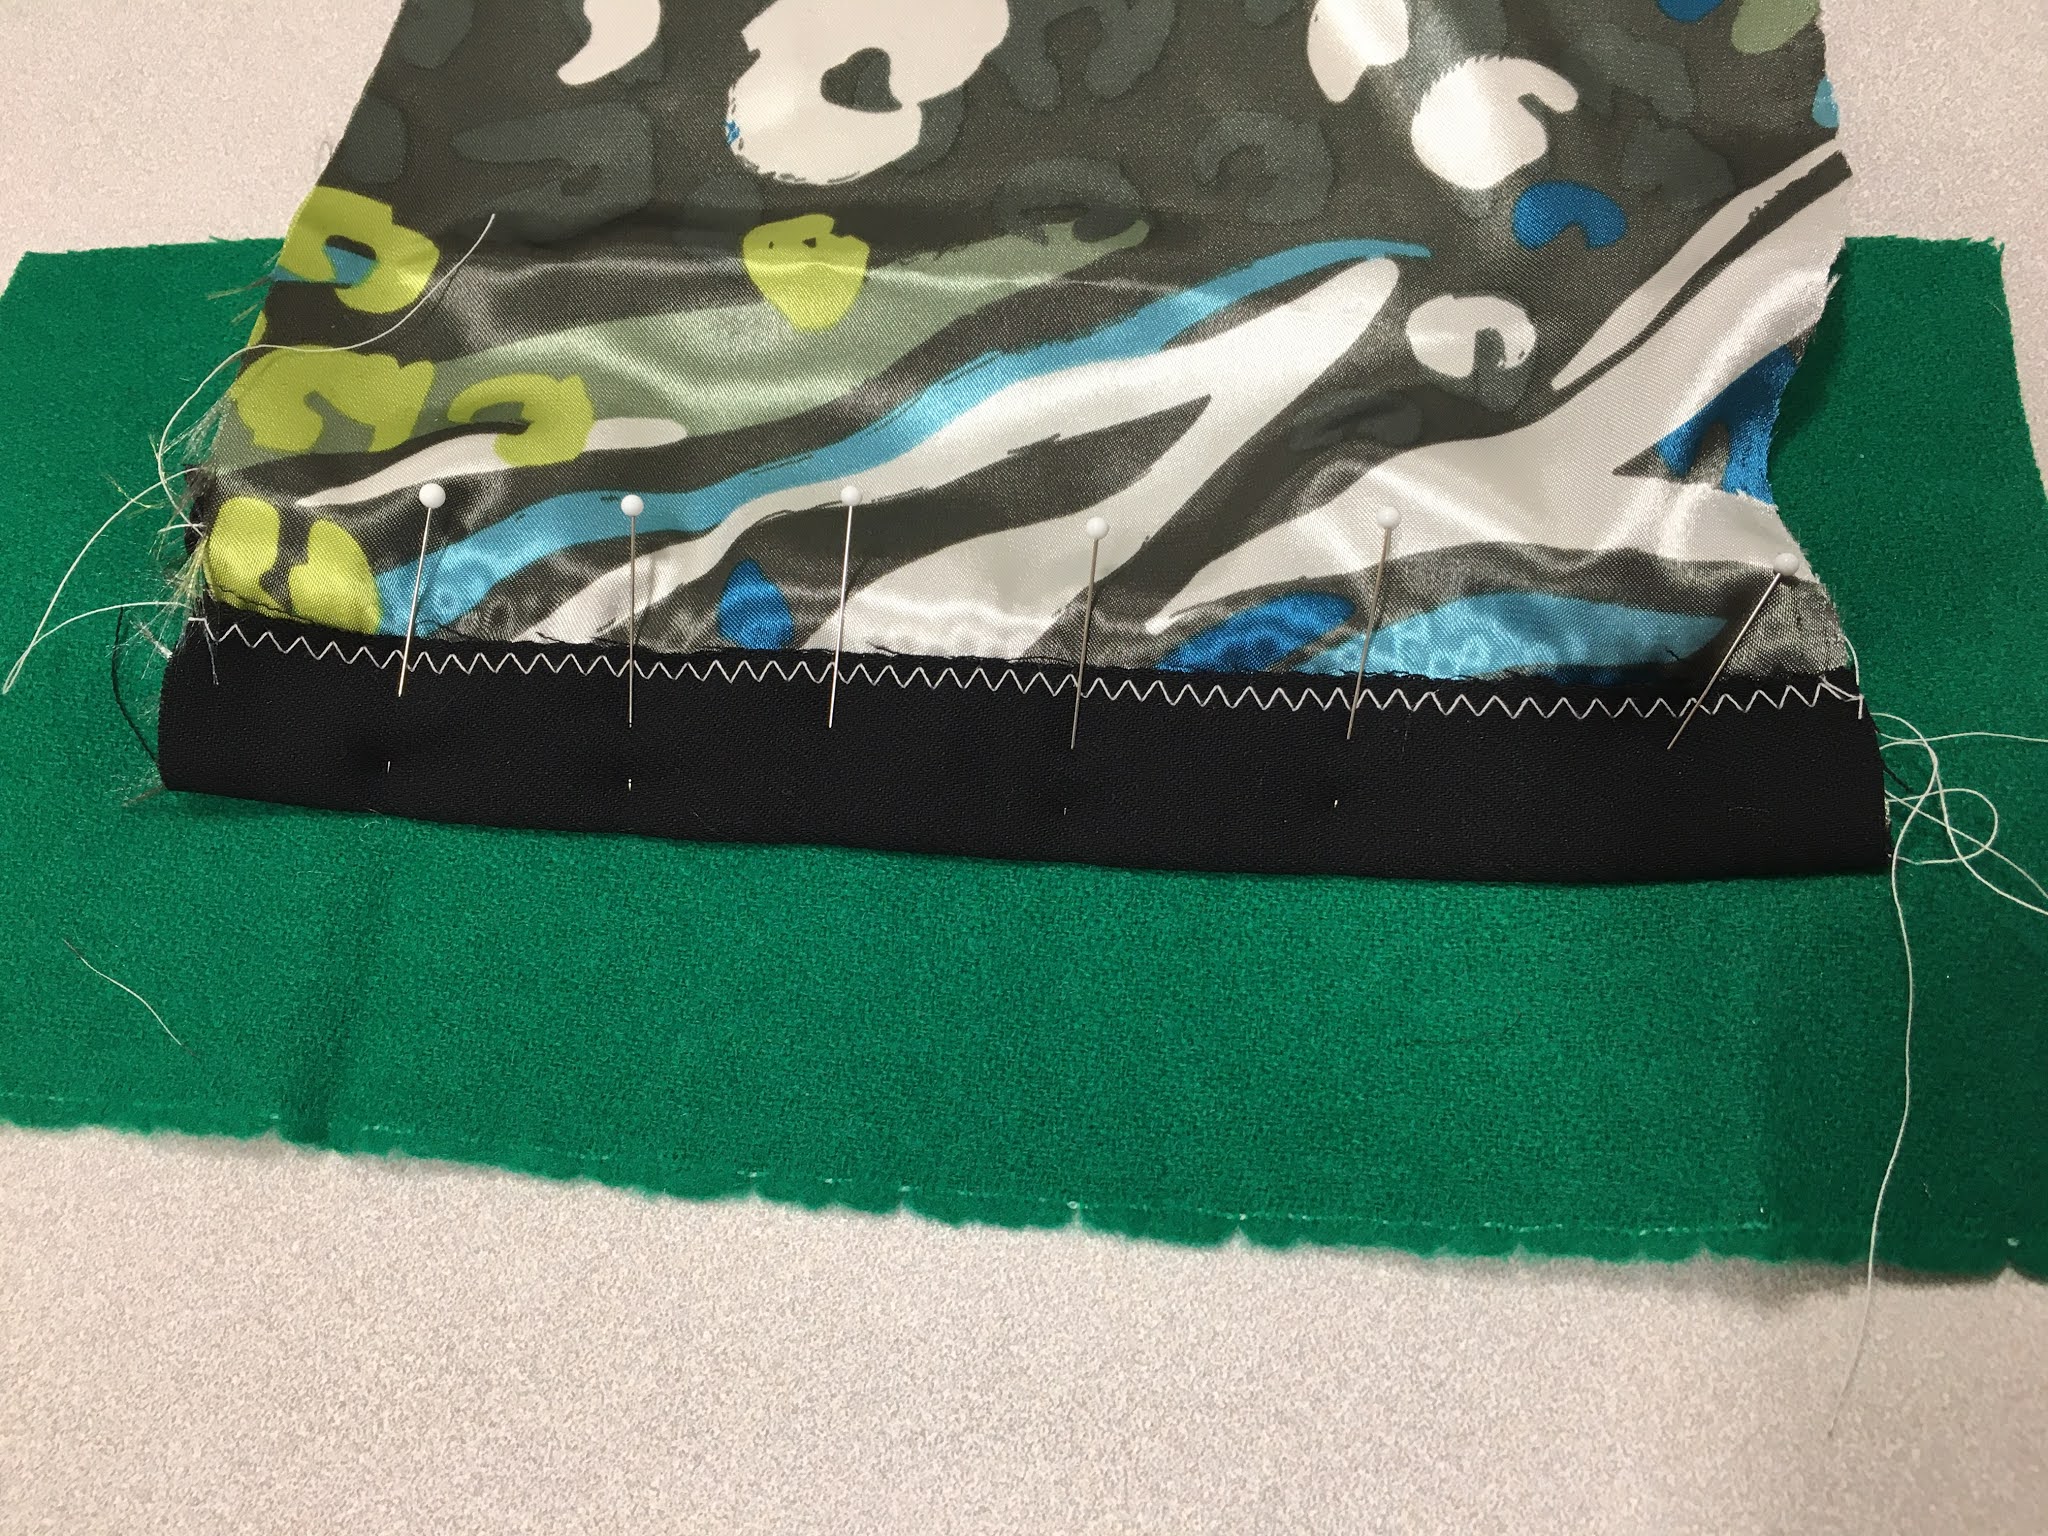
If you want the facing edge to have a serge finish, do that first. Then place the rectangles on the ends of the lining piece, right side of lining to wrong side of fashion fabric. Pin in place.
Baste across the top and bottom. Stitch across the middle of the serging stitch. On the other one, I zigzagged to hold the rectangle in place and to finish off raw edges. The zigzag will not show through when pocket is finished.
If you are planning to add a pocket flap, you only need the rectangle at one end of the pocket lining. This will be for the double welts.
On the garment you plan to sew the pocket to, make marks on the right side of the fabric for the pocket position. Then flip the fabric over and position the interfacing on the wrong side, centering the pencil marks on the pocket position. Pin in place.
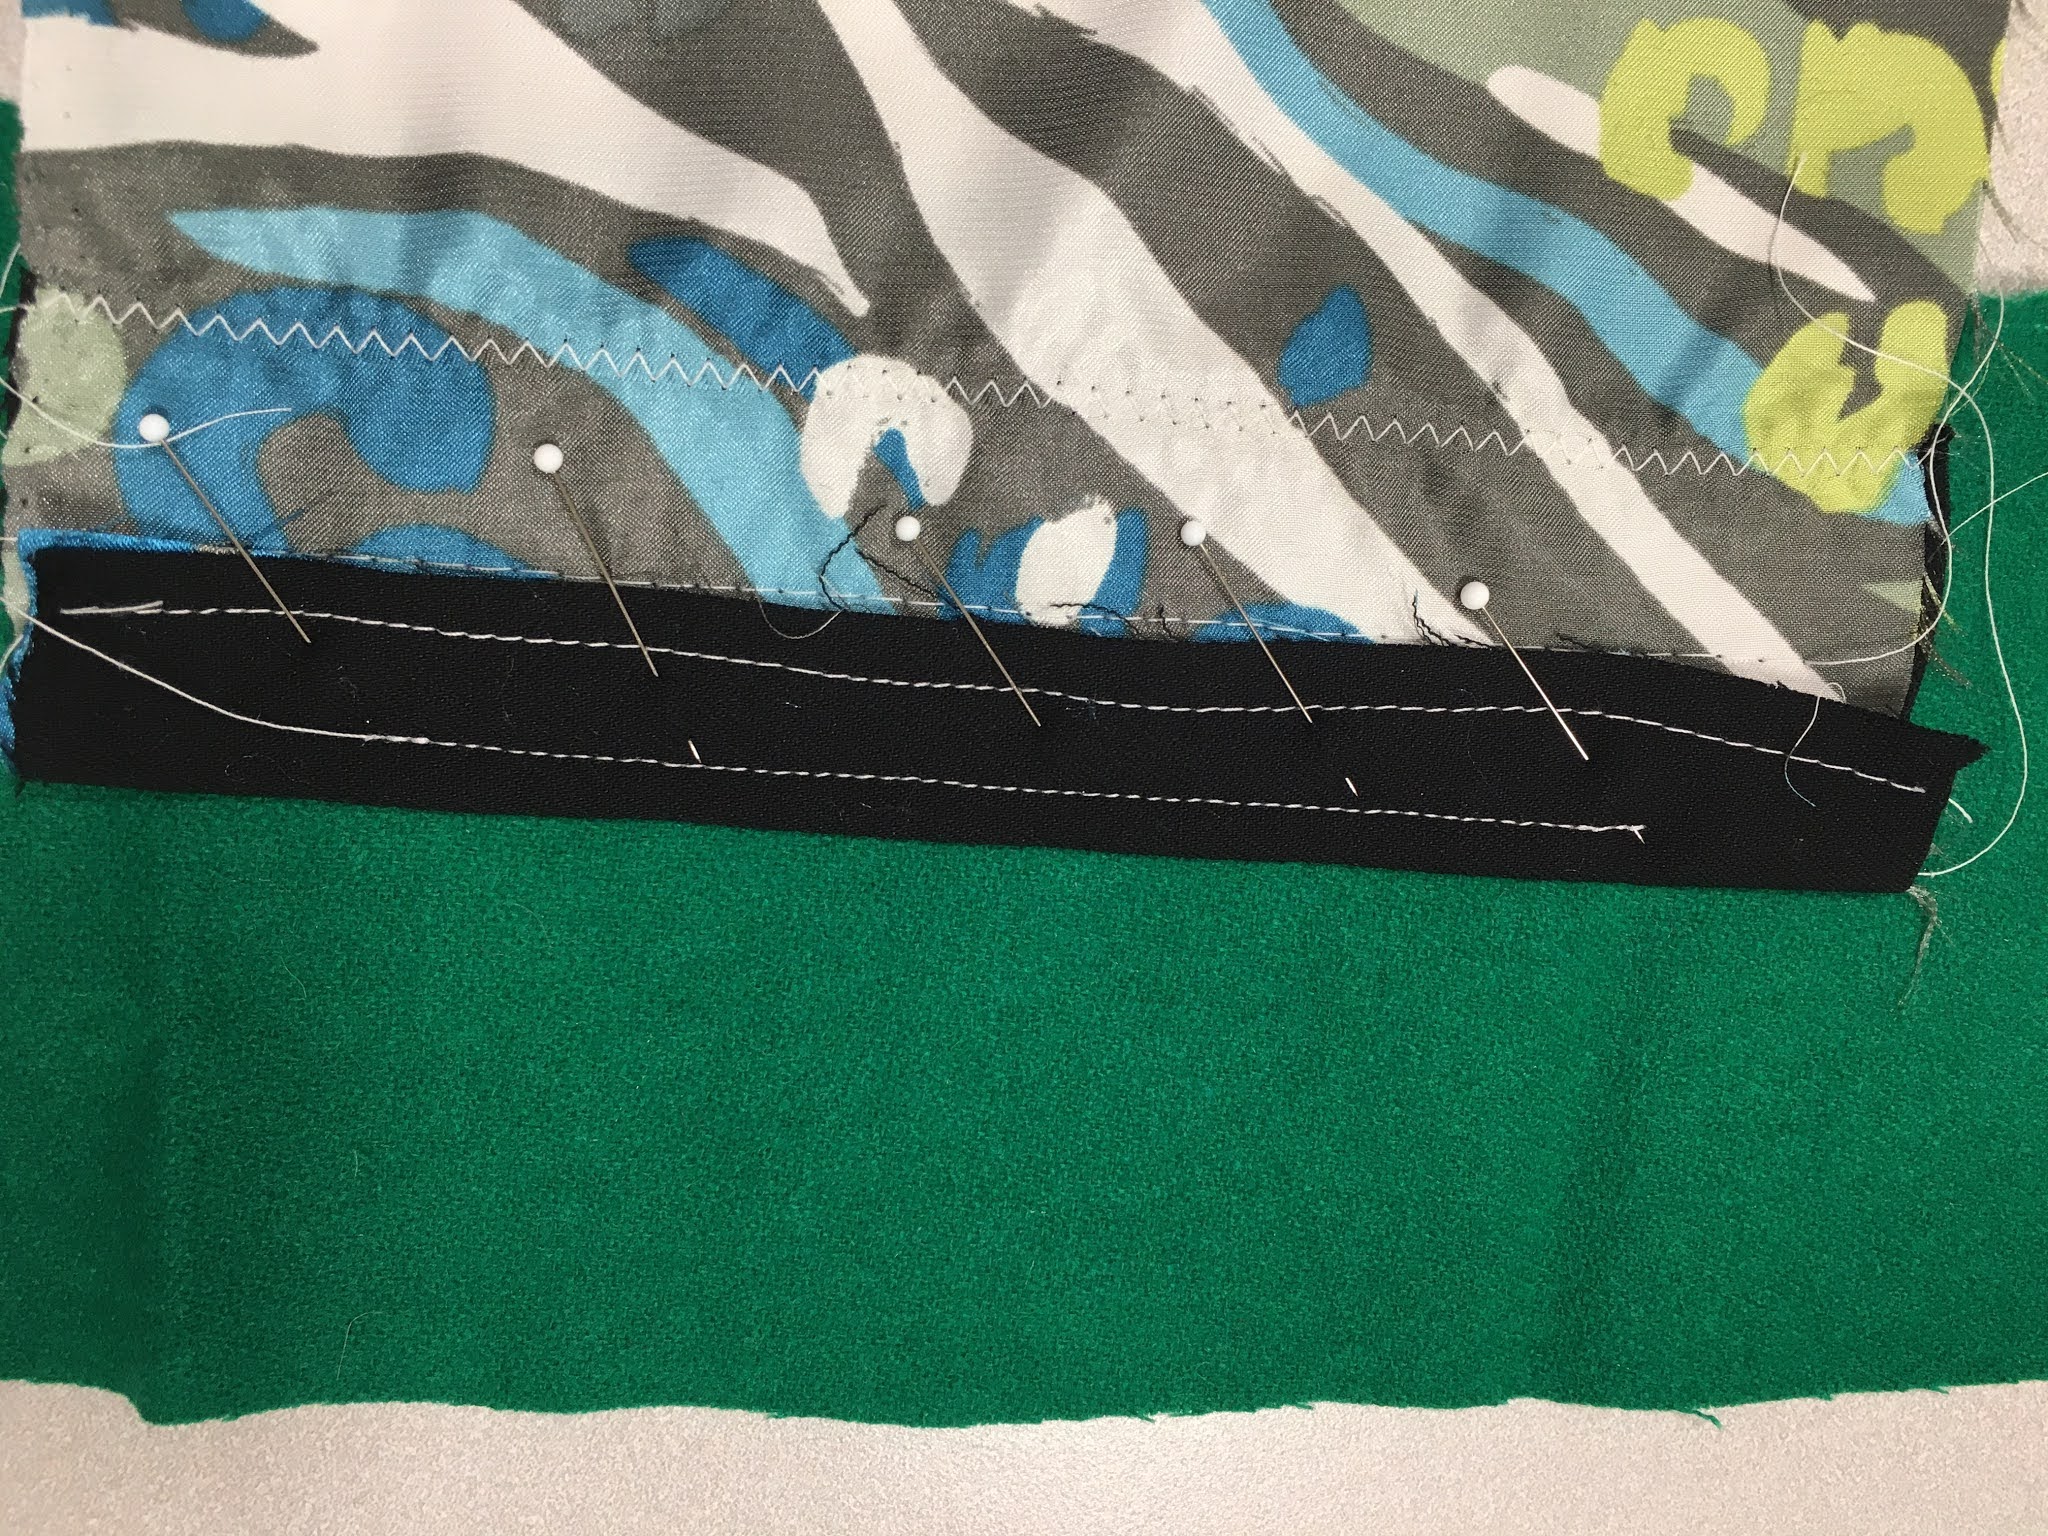
Change stitch length to 2. Starting in the middle of one line, stitch around the entire rectangle, pivoting at the corners. When you get to the short ends, count the number of stitches so that both short ends will be the same length. Trace over your beginning stitches to end. If it is hard to get your machine to stitch directly to the corners, you may need to turn the flywheel by hand to position the needle perfectly.
This stitching will reinforce the pocket opening and also serves as a stitching guide.
This is what the stitching looks like on the right side. The pocket opening should be a perfect 1/2" width.
With fashion fabric right side up, place right side pocket/welt lining over the rectangle stitching. It helps to fold the welt fabric in half to get it centered both vertically and horizontally. Pin temporarily.
Once the lining is in place, flip up the welt end. Pin in place, outside the stitch box. Right side of fashion fabric is pinned to right side of pocket lining.
Flip fabric to interfacing (wrong) side. Using 2.5 stitch length, only stitch the long sides of the box. Backstitch carefully so that the stitches do not go beyond the end of the box.
Stitch both long sides of the box. Clip threads close to fabric.
Now it is time to baste to create the perfect welt. Change stitch length to 5-6. If helpful, you may want to change presser foot to the patchwork or 1/4" foot to be exactly 1/4" away from box.
Leave long thread tails and begin stitching 1" before box. Position presser foot guide on the previous stitching. Basting stitch should be exactly 1/4" from previous stitching. Stitch 1" beyond end of box.
Repeat on the other side of the stitch box. Check your stitches. Is one end wider than the other? You want the width to be exactly 1/4". Unpick and restitch if the width is uneven.
Now it is time to fold down the welt for final stitching. On right side of fashion fabric, fold the lower part of the pocket lining/welt down firmly and smooth along the line of basting. Pin in place, keeping the point of the pins away from the folded edge.
Flip to the interfacing (wrong) side. Change stitch length back to 2.5. Stitch again over the previous stitching on the lower long side of the box. Be sure to backstitch into the corners exactly to secure stitches. Clip threads.
Now do the same thing to the upper part of the pocket/welt. With right side up, fold the upper part of the pocket lining/welt down firmly and smooth along the line of basting. Pin in place, keeping the point of the pins away from the folded edge.
Flip to the interfacing side. Stitch on the upper line of the box, securing the ends.
When finished, this is what it will look like from the right side. Check your stitches. Is one end wider than the other? You want the width to be exactly 1/4". Unpick and restitch if the welt width is uneven.
Before cutting through the stitch box, pull out the basting stitches. On right side, pin the rest of the pocket lining out of the way. Using sharp scissors, cut ONLY through the pocket lining/welt, through the center of the opening.
Now turn pocket to wrong side. I have drawn pie-shaped wedges into the corners, about 1/2" from the box ends.
Starting in the middle, carefully cut through the interfacing and the fashion fabric. Be careful to not cut the welts which are underneath. Carefully cut into the corners, to but not through the stitching.
Carefully push all the pocket lining through the opening and into the back. Pull on the tails of the welts to gently nudge the welts into place in the corners of the box. Place the pocket over a pressing ham and continue moving the welts into place. The corners should be perfect square corners.
Using a pressing cloth, gently press, touching only the welt area. Can also finger press. Do not move fabric until cool. (Overpressing will leave imprints of the welts.)
ADD POCKET FLAP INSTRUCTIONS HERE--
Catch-stitch welts together to prevent the welts from moving out of place. It is okay to have the welts slightly overlap.
Time to finish the pocket bag. Bring the lower pocket lining edge up to the top welt edge. Pin in place.
On wrong side, flip the top edge of the pocket to reveal the wrong side of the top welt. Zigzag through all these layers to connect and to also help compress the bulky layers.
From the right side, flip back the sides of the pocket to reveal the triangles of the ends of the box and the welts. Keep the welts flat. Pin the jacket out of the way.
Secure the triangles by stitching through all fabric layers several times.
Stitch around the sides and the bottom of the pocket bag. Curving the corners will help keep lint out of the corners.
Great job with your double welt pockets. Once the garment is finished, catchstitch may be taken out.
SEW *** CREATE *** LIVE
* * * * * * * * *
* * * * *
* * *
*
double welt pockets, easy double welt pockets, welt pockets, tailored pockets, tailored welt pockets, tailored double welt pockets, easy welt pockets