First cut out all the pillow pieces.
Back piece: 17" x 17"
Front center piece: 9" x 9"
Top & bottom rectangles: 5" x 17"
Side rectangles: 5" x 9"
This is how the pieces will be placed on the front.
Take your 9" x 9" square piece and your two short fabric strips. Place right sides together and raw edges together and pin.
Sew your two short strip pieces to the 9" x 9" square piece, using the 1/2" seam allowance.
This is what it will look like from the right side when finished.
Finish those seams using the #2 stitch on the Bernina machine. This is the zigzag stitch. Sew the stitch right on the edge of the fabric to prevent any fraying.
Press those seams toward the darker fabric, or away from the lighter fabric. First press on the wrong side of the fabric.

Then press on the right side to make sure that there are no pressed tucks in the fabric.
Set your machine back to stitch #1. Take your long rectangle pieces and place them at the top and bottom of your other sewn pieces. Place them right sides together and pin.
Stitch those seams with a 1/2" seam allowance, backstitching at both ends. Then change to the #2 zigzag stitch and sew along the raw edges.
Press seams to the same direction as the first two seams, inward or outward.
Also press on the right side to make seams smooth with no fabric tucks.
Stitch around all the edges of the two big square front and back pieces of the pillow, separately, using #2 stitch and zigzag on the edges of the fabric pieces to finish them.
Now you are ready for the embroidery. Fold your front piece in half, and then in half again. Mark the center of the square, or make a crease to mark the center.
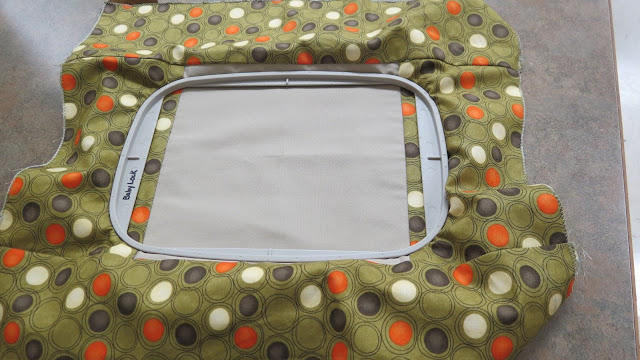
Set up the embroidery machine and select your embroidery design. Select the correct size of embroidery hoop and stabilizer piece. Adding a template in the top hoop will help in centering your fabric as you hoop it.
Then take the template out.
Now you are ready to stitch your embroidery design.
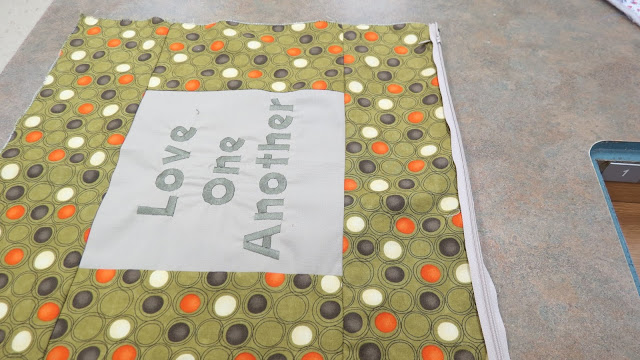
Here is the finished front.
This is the invisible zipper. It is designed with the zipper coils on the back side of the zipper tape.

Open up the zipper to the very bottom. Prep the zipper by pressing the coils open with the iron on a low setting. This will help relax the coil.
This is the invisible zipper foot we will be using to sew the zipper on. It is a snap-on foot.
This foot has been converted to fit the Bernina 350 machine by attaching a low shank adapter and the Bernina shank adaptor. The snap-on foot is on correctly when the little center notch is towards the front of the foot.
Notice the grooves on the bottom of the presser foot. This will guide the zipper coils as you sew.
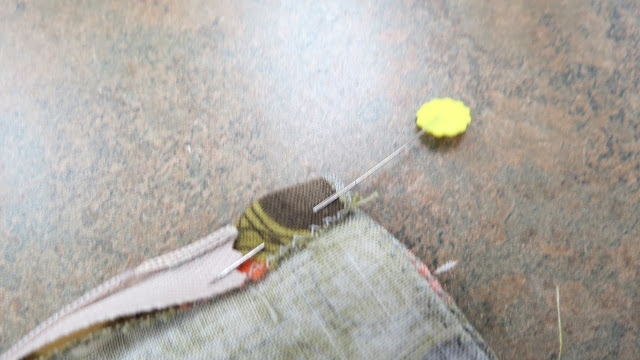
With the zipper open, pin one side of the zipper tape to the right side of fabric bottom, centering the zipper. Because the zipper will be close to the pillow corner, I begin the top zipper tape 1/2" down from the top fabric edge. Match the edge of the zipper tape with the fabric edge. Notice that the zipper coil is towards the center of the pillow.
The invisible zipper is stitched from the top to the bottom. Begin at the zipper top stop, with the coil under the left groove of the presser foot. Make sure that the coil is standing straight up. Sew with the needle in the down position. Backstitch at the top and stitch to the bottom. Stop stitching 3/4" from the bottom of the pillow fabric.
Close the zipper and check to make sure you stitched close to the zipper coil.
Start pinning the pillow back to the other zipper tape, matching the pillow ends. Then open up the zipper and finish pinning, right side of zipper tape to right side of fabric.
As you stitch this zipper, the coil will be under the right groove of the presser foot. Stitch from the top to the bottom.
Great job on your pillow.
SEW * CREATE * LIVE
* * * * * * * * * * *
* * * * * * * * *
* * * * * * *
* * * * *
* * *
*
embroidered pillow, invisible zipper, invisible zipper pillow, knife edge pillow, square pillow, invisible zipper application, how to sew invisible zipper, knife edge pillow tutorial, how to sew a pillow with closure


