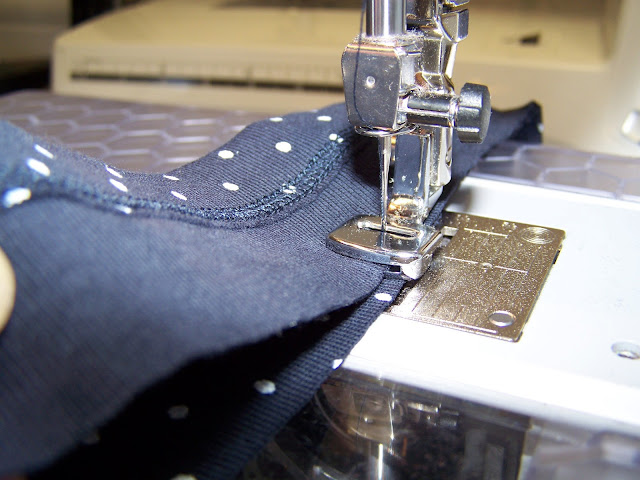
The double needle has two needles and a single shank. You can buy several sizes, but this size is my favorite--4.0/80. It means the needle size is 80 and the distance between the two needles is 4.0 milimeters.
To shorten a T-shirt, first measure the existing hem allowance. It is usually between 3/4" and 1". Mark where you want the new hem fold to be and then add the hem allowance to that. This is where I cut with a ruler and a rotary cutter to get a clean and accurate cut. Save the scraps for something else later.
On an ironing pad, press up the new hem allowance and pin in place.
Insert the new double needle. Keep the needle in the center position. It would be sad to break this needle hitting the presser foot.
You will need two upper threads and one bobbin thread. You can use two spools or one spool and one bobbin. If your sewing machine has two thread spindles, use them. If not, use a thread cone holder for one of your thread spools.
Sew on the right side of the shirt hem. I like to start in the back. You want the needles to hit close to where the edge of the hem is. Sometimes I serge the raw edge, but with knits this is not usually necessary. I stitch all the way around the hem, and then stitch over my beginning stitch for 1/2" instead of backstitching.
When finished, this is what the hem will look like on the right side. Press as necessary to get a crisp edge and to let the stitching lie flat.
This is what the stitch looks like on the back side. Because there are two needles, the bobbin thread needs to go from needle to needle, creating a zigzag stitch. This gives the stitch its stretch, which is ideal for knit fabrics.
Now something fun to do with the scraps: Make barbie clothes. You can find my Etsy shop at pinkpolkadotplace.etsy.com, where I design, make and sell barbie fashions and furniture.
This foot is the gathering foot, which can save you lots of time. It takes some practice to get the hang of it, but it is so worth it. The left foot is a true Bernina gathering foot (but it is for older machines). The one on the right is a generic gathering foot, which has been adapted for the Bernina with a Bernina shank. Just screw it on and it works.
Set your machine stitch length between 3.5 - 4. Put the long fabric strip under the gathering foot, right side up. Put the shorter fabric in the slot on the presser foot, right side down. Hold both fabrics separately. They will feed differently, as the fabric on the bottom will feed quickly, gathering and stitching to the flat fabric on top.
Once your strips have been gathered together, cut the width to fit around Barbie's hips, cut, and sew a seam. This skirt has an opening at the waist back with a snap closure. A great way to use up your cut scraps.
***SEW *** CREATE *** LIVE***


