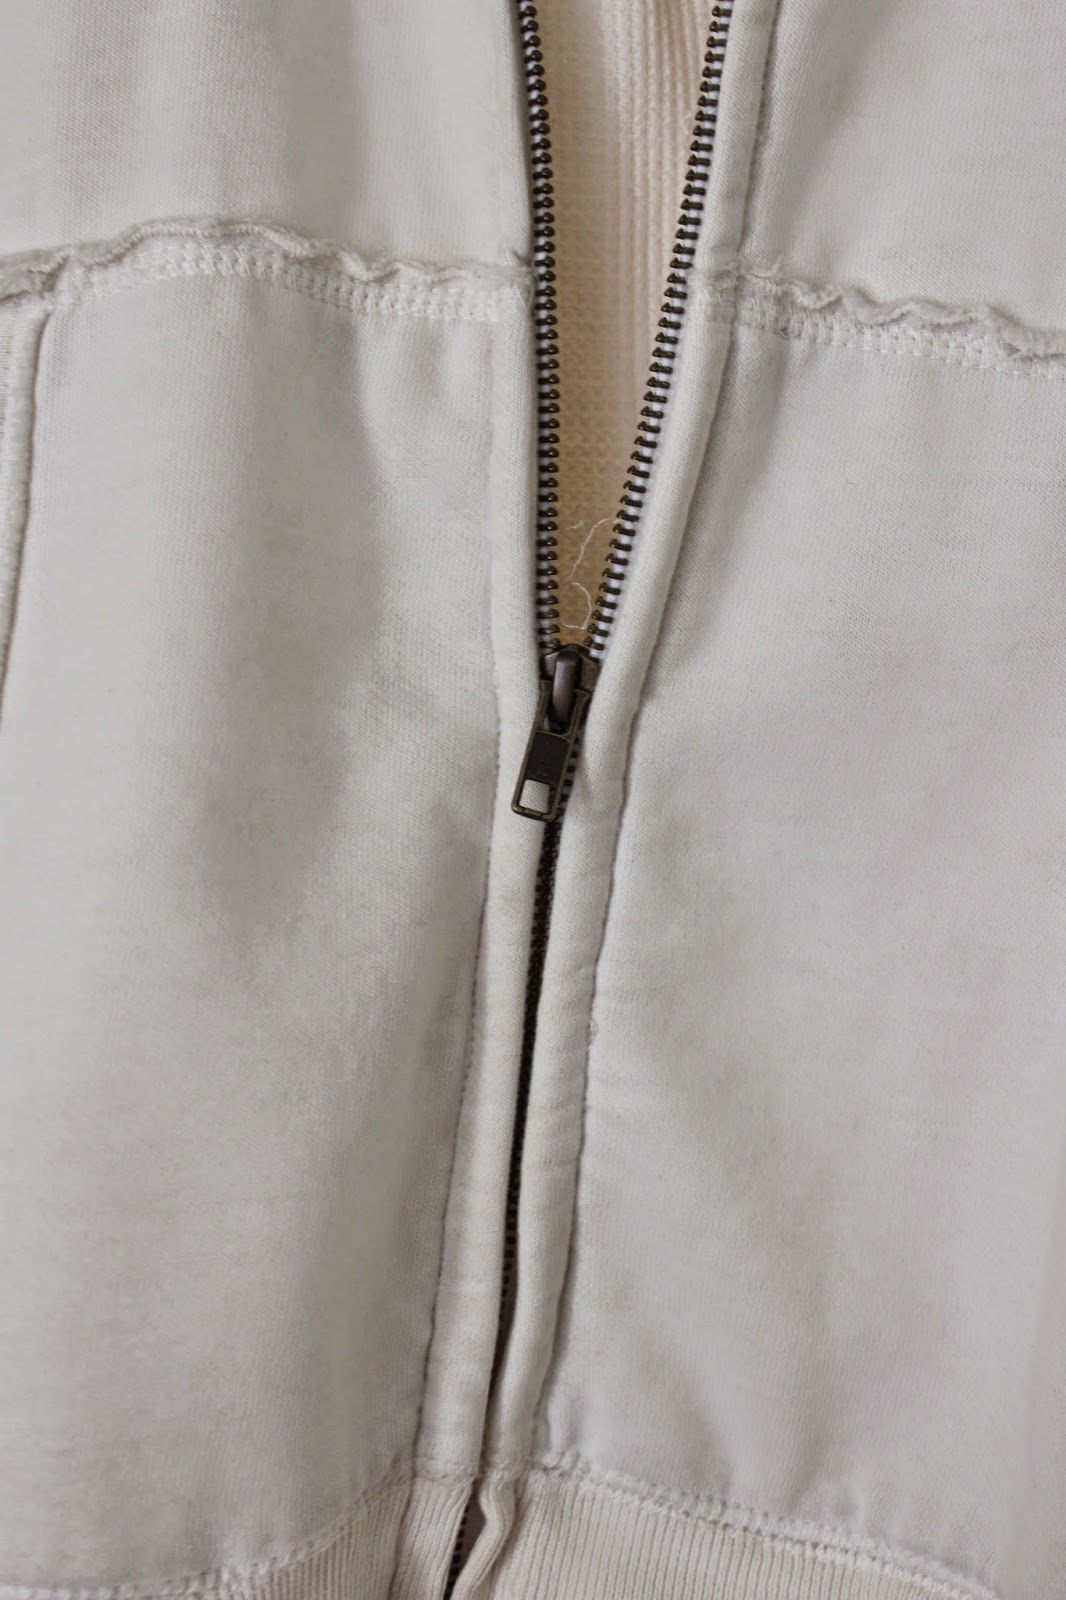
So, what happens when the zipper breaks on your favorite jacket? No worries, you can fix that!
I like to purchase my zippers at wawak.com. They have a wide variety of zippers, they are quick, and the shipping costs are very low. Every month they have discounted products and they will send you a monthly catalog if you sign up.
Measure the length of the broken zipper and see if it is a 2-way zipper. Then purchase a new zipper the length and color you want. Wawak sells metal teeth, nylon or polyester coil, and plastic teeth zippers.
Place the top stop where you want it.
Then start crimping both sides of the stop with the pliers.


Wiggle and pull on it to test that it is secure.
Then you can cut the rest of the zipper tape off, leaving at least 1/2" tape at the top.
Markings will be very important to making the zipper application look professional. I first mark with pins and then pencil. Mark the center of the jacket and the center of the zipper.

Mark on the back side of the zipper tape as well.

Separate the zipper.
This is a lined jacket, so I am pinning the back side of the zipper tape to the lining. Make sure to line up the top and bottom of the zipper so that both sides of jacket line up.

Using a zipper foot, sew the zipper tape to the jacket lining.

When you get to the top, fold back the zipper tape and stitch slowly. This will be bulky, but you can stitch through all layers.

Now it's time to pin the face side of the jacket to the face side of the zipper tape. This jacket has a lot of marking on the face side, so I make sure to match up both sides. Line the folded edge of the jacket to almost the edge of the zipper teeth.

Start pinning.

Be careful not to stretch the knit fabric.

Once side one is finished, start lining up the second side. I use a ruler to make sure the appliqued lettering match up on both jacket sides.

Match up the bottom of the letters as well as you pin.

Match up the bottom of the printed lettering.

Match up where the horizontal seam meets.
Match up the bottom ribbing seam.
Here is what newly stitched bottom looks like.

Here is what the top looks like. I had to unpick some of the topstitching when I removed the broken zipper. So I have restitched to replace the stitching.
Everything seems to be lined up very nicely.
Benjamin's jacket is now as good as new.


