The first instructions will be for the open cardigan. The second instructions will be for a zipper closure in a sweater.

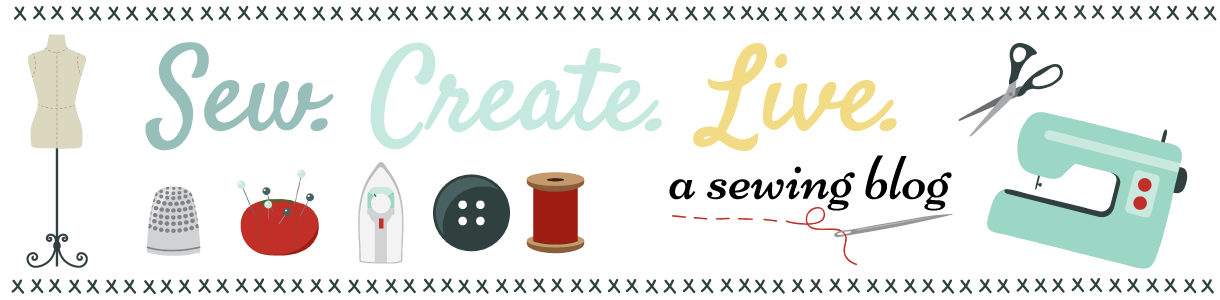
I bought this long sleeved pullover knit top at a thrift store. I wanted to make it into an open cardigan. I have done this numerous times. An open sweater is much more versatile than a pullover for me.
I first mark center front of the shirt with a marking tool. Then before cutting on that line, I staystitch 1/4" on both sides of the line. This will help stabilize the knit fabric. Then cut on the center front line to open the shirt. At this point, the closure could be a separating zipper or buttons. Because this knit top didn't have much extra ease, I decided to finish off the front edges and sew a thread eye at the neck edge for a closure.
Here is how I did it.
Get some 1" twill tape and cut it 1" longer than the length of the shirt. Then lap the tape over 1/4" on the cut edge of the right side of the fabric and pin.


With matching thread, stitch on the edge of the twill tape.

Wrap the twill tape to the wrong side of the fabric. With a pin mark the bottom edge of the shirt.

Cut 1/2" below the pin mark and turn under the raw edge of the tape and pin in place. This will hide the raw edges.

Pin the twill tape to the wrong side of the shirt. Do the same for both fronts.

With knits it is best to use a stretch needle to prevent holes in the fabric.


Once you have topstitched, press the fronts to get a nice crisp crease. Using the clapper pressing tool is very helpful.

Make sure that both fronts are the same length.


A thread eye and a large gold button was added to the top of the new cardigan for the closure.


Serge the raw edges to give a nice finish.

Using a separating zipper, pin the right side of zipper tape to the right side of cut edge.

Using a zipper presser foot, sew zipper to sweater edge. Sew from the top to the bottom.

Now pin the other zipper tape to the other sweater edge. Because my sweater has horizontal design lines, it is important to make sure that both sides will match up when the sweater is zipped up.

When sewing zippers, try to stitch in the same direction for both zipper tape sides. Because I am stitching from the top to the bottom on the second side, the fabric will need to be to the right of the presser foot.

Notice my zipper is too long at the top.

Because my zipper was too long, I overlapped it at the top sweater.

Cut off some of the extra zipper tape.


Using the regular presser foot, topstitch on the sweater side about 1/2" from the zipper coil.


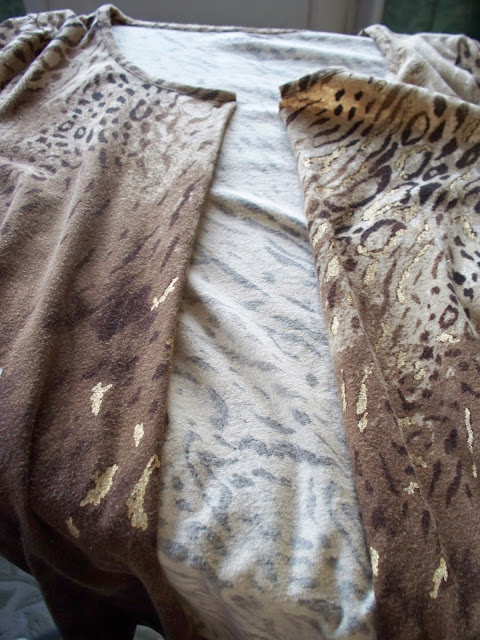
The following sweaters used to be pullovers. I did the same technique with the twill tape, but because there was plenty of ease, I made an overlap closure with buttons and buttonholes. Please note that you will lose at least 1 1/2" of ease because of the seams and the overlap and underlap of the closure.

SEW * CREATE * LIVE
* * *
*
converted cardigan, convert pullover to cardigan, closure on cardigan, zipper on sweater, zipper on cardigan