
First look at your pattern and notice that there is a fold line on one of the long ends. This edge needs to be placed on the fold of the fabric. Also notice that the grainline arrow is across, showing the stretch grain (crosswise grain).

Fold the fabric in half, with the stretch (crosswise grain) going across. You will be cutting through two layers of fabric. Place the pattern on top of the fabric with the "place on fold" edge on the fold of the fabric. Pin pattern in place.

Take pattern off and fold cap fabric right sides together. Pin together the long cut end and the outside angled cut ends.

Set your stitch length to almost 3.

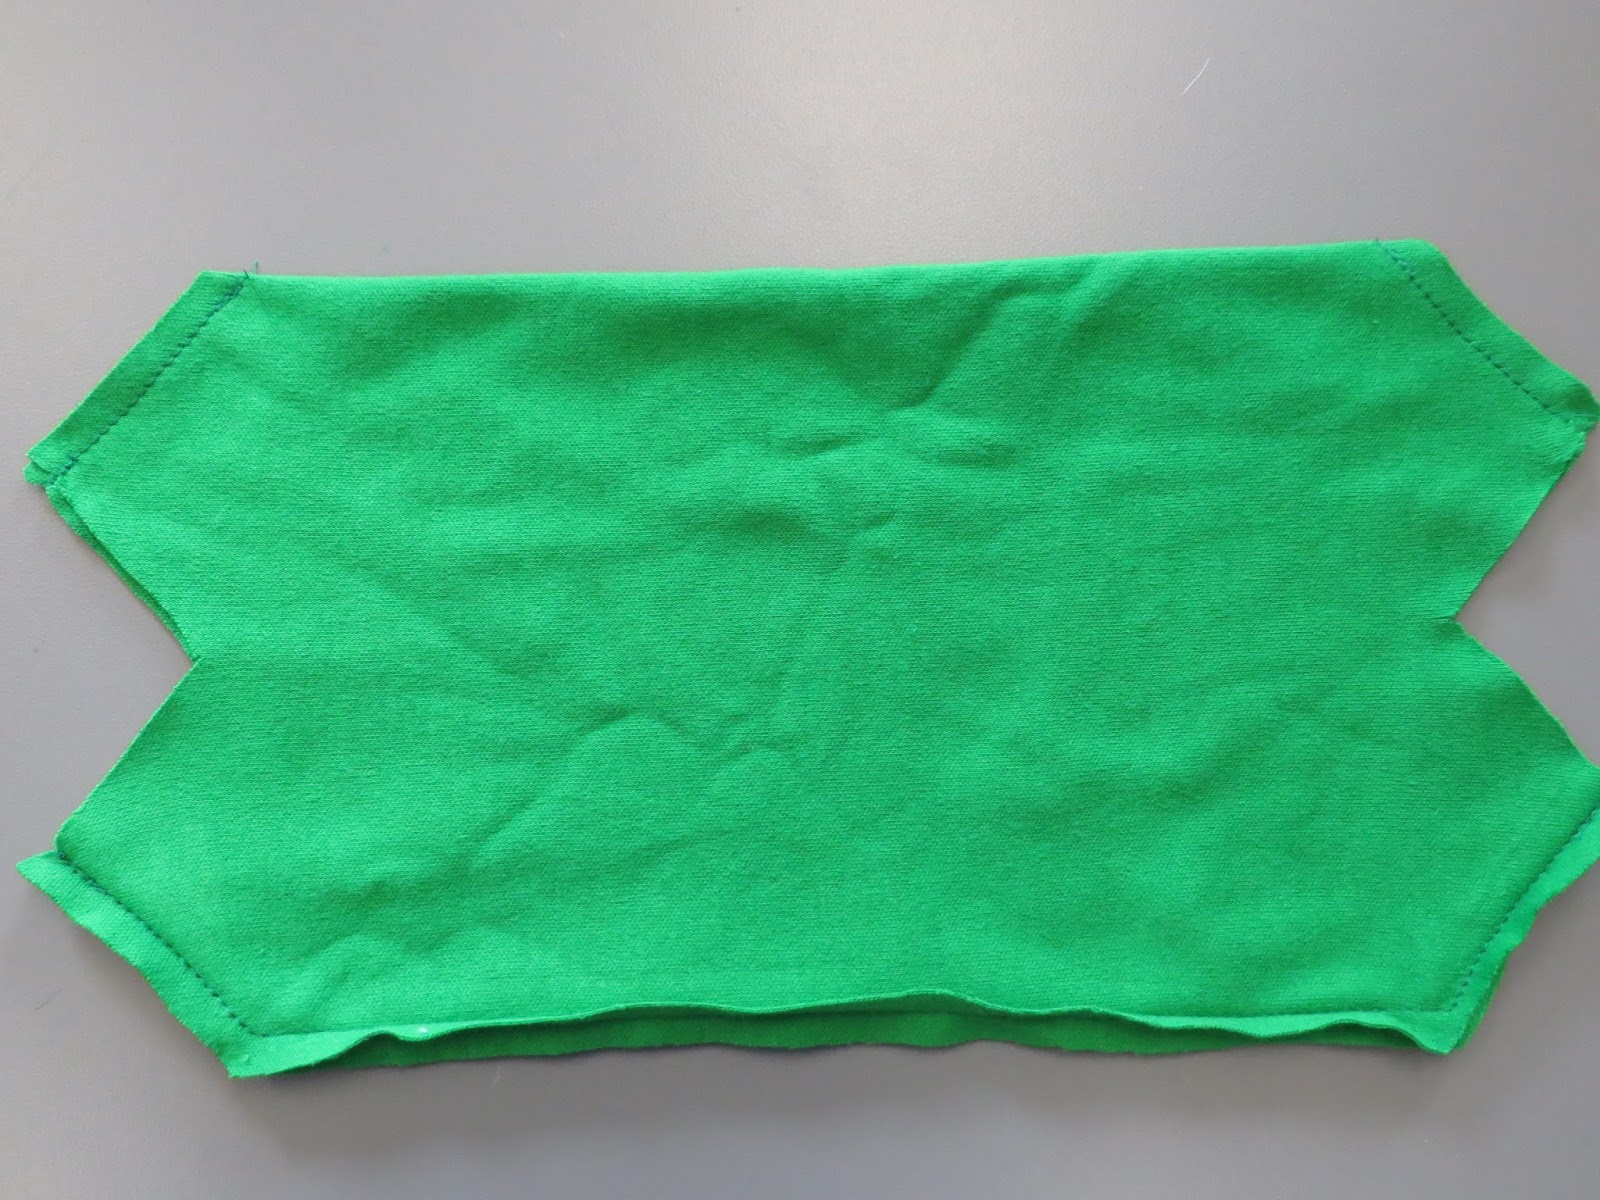
Sew the angle, the long edge, and the other angle at 1/4" seam allowance, with the fabric lined up with the edge of the presser foot. Backstitch at both ends. Take pins out as you go.

This is what it will look like.

You have created a tube with the fabric. To press the seam open you will need a seam roll pressing tool. Insert the pressing tool inside the fabric tube, being careful not to stretch the fabric.

Press the long seam.

Press the two angled seams.

Now stitch the other two angled sides, backstitching at both ends.

This is what it will look like.
Now clip on the fold of the fabric up to, but not through, the stitching. This will help the seam open up for pressing.

Find a small pressing tool to insert into the tube to press the small seam open.

This is what it will look like when pressed open.

Now turn the tube right side out.

Now fold the hat in half, with wrong sides together, being careful to keep your seams allowances open and not flipped to one side.

Match up two of the seams and pin through the seam line to keep them matched up.

Do this to the other two seams.

Now match all four seams together and repin. Then match up the cut edges and pin through all four fabric layers. This will become your final seam.

Stitch 1/4" seam allowance, backstitching at both ends. You may stitch over the center pin if you go very slowing, one stitch at a time so that the needle will not nick the pin. This will help keep your seamlines from shifting, so that your seam will stay matched.


Now select the zigzag stitch.

Zigzag next to the straight stitching and trim off excess fabric.

Turn cap right side out. All four seams should match in the middle.

Roll up edge of hat to make a brim.

So Cute!! Great Job!!!