
NOTE: At the bottom of the post, I will show you how to shorten a jean hem by keeping the original hem and stitching.
There are some great tools that you will need to make your
jean hem easy and successful.

Mark the finished hem length with a pin or chalk mark.

Then measure the depth of the existing
hem. Since this is to be a double-fold
hem, double this amount. Usually the
finished hem depth is 5/8” so double would be 1 ¼”.

Use the clear ruler to measure 1 ¼” below the
finished mark and make a chalk mark.

Either cut the remainder leg off with the rotary cutter or fabric
shears.

Now mark the finished hem fold with the clear ruler and
chalk. Do this for both sides of both pant
legs. This really saves time and makes
the pinning process very accurate.


The flat fell seams are very bulky, especially when they have been folded twice, so use the rubber mallet on a flat, hard, sturdy surface to pound the bulk in these seams. This can really reduce the bulk and allow the needle to penetrate easily into the fabric.


Another great tool is the seam jumper. I use the Jean-a-ma-Jig. It is also called a shim. The jean seams are bulky and it is important to keep the presser foot level so that you don't break a needle or create uneven stitches. I use the seam jumper behind the bulky seam as I approach it, then when I stitch over the bulky seam, I move the seam jumper in front of the bulky seam and stitch onto it. Notice that there is a slit in the middle of the seam jumper for the needle to stitch.


Make sure you have the pant legs turned right side out.

You may use all-purpose thread or thicker topstitching thread. I sometimes use the triple straight stitch, which will give the appearance of thick topstitching thread. This is #6 on my Bernina machine. I also lengthen my stitch length to at least 3 - 3.5. Another option is to use two strands of thread in the needle, feeding off two spools. This also gives the appearance of thicker thread, and is very popular in ready-to-wear jeans.

Take off the machine table so that you can use the free arm to insert the pant leg onto. This way you can sew on the outside of the circle, with the needle stitch on the right side of the pant leg. I start near the inseam and stitch all the way around the pant leg, stitching over my beginning stitches for at least 1/2" to secure threads.

This picture didn't turn out well, but is showing the seam jumper behind the presser foot as I begin stitching on the bulky seam (hump).

Here is the seam jumper in front of the bulky seam, so that the presser foot stays level as you come off the hump. What a great tool!

Here is a picture of the finished hem, using a longer stitch length and a triple straight stitch.

Here is another hem showing two strands of thread in the needle stitch. I really like the look of the extra thread. It really makes the hem stitch "POP." I usually do a quick steam press and use my wood clapper tool to get a nice, crisp crease at the hem fold. Good luck and happy sewing. I hope that you enjoy my very first blog ever!!
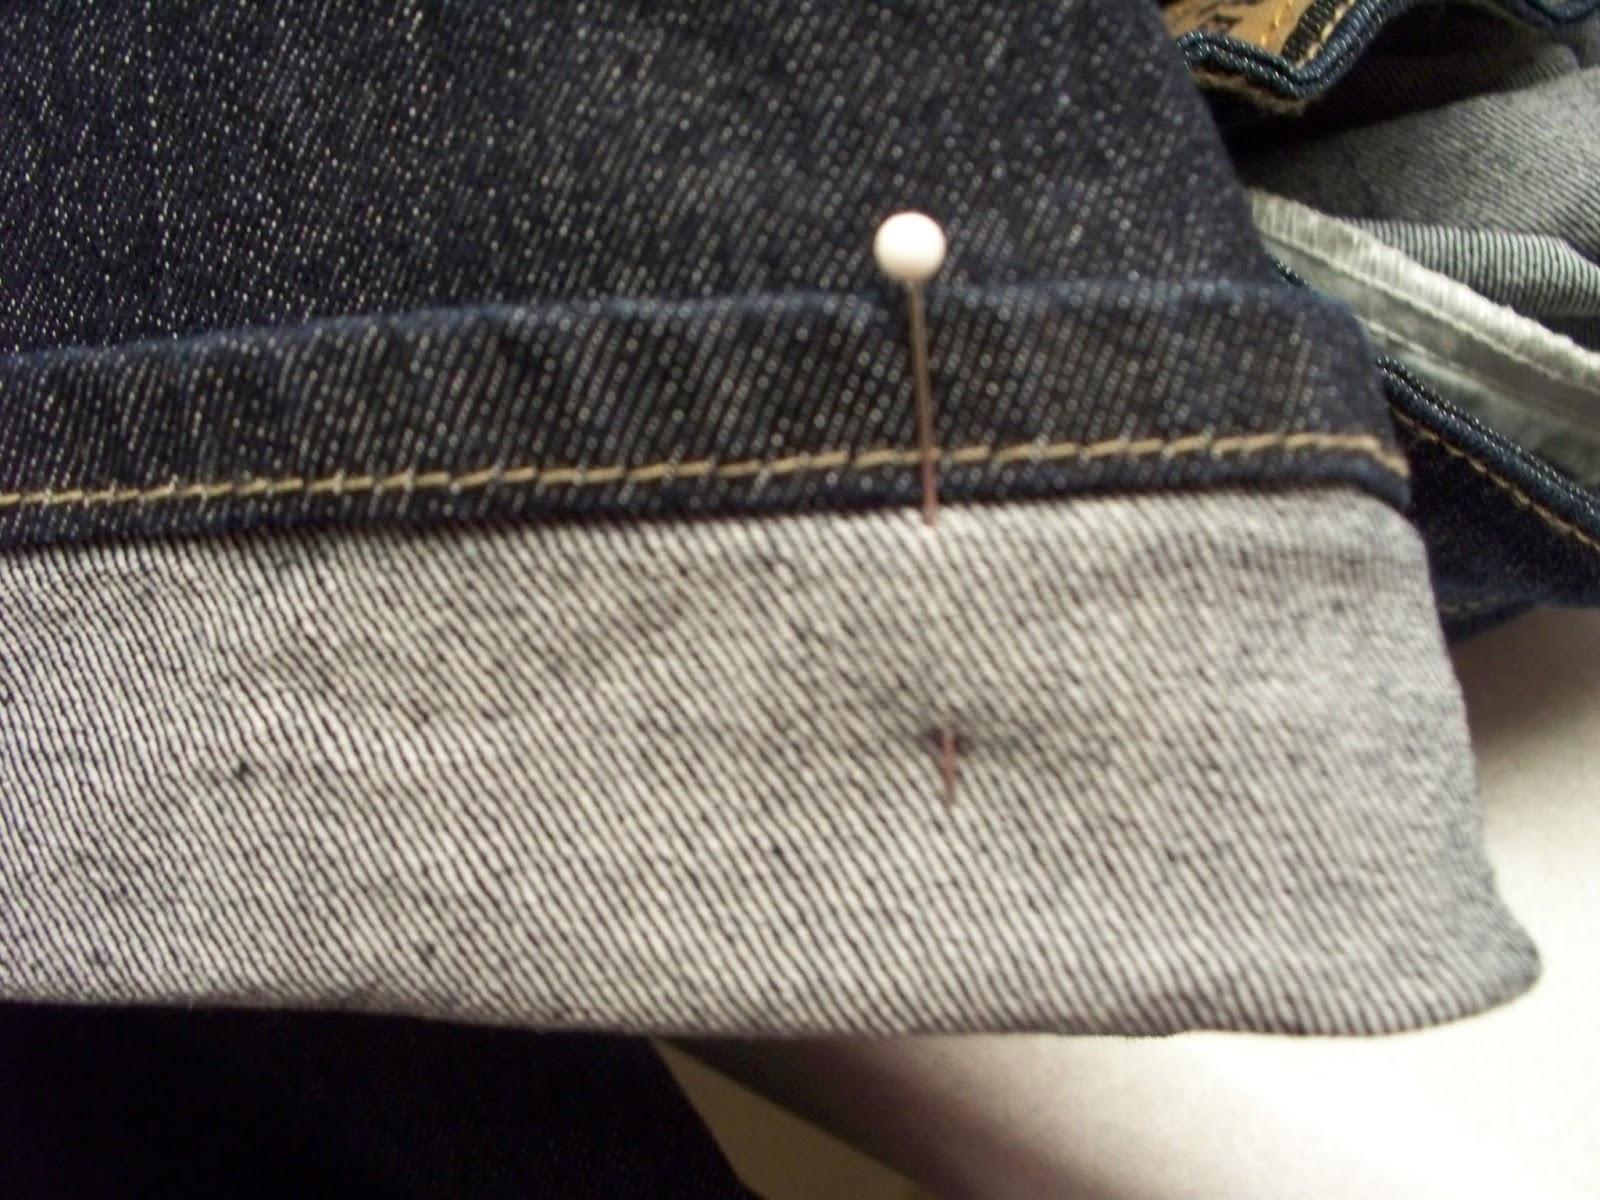
Sometimes you may want to shorten a pair of jeans but keep the original decorative stitching. Here is how to shorten a jean hem by keeping the original stitching.
First measure the width of your hem--mine is 1/2". Next measure where you would like your new hem fold to be and mark it. Then place another mark 1/2" above that mark, or whatever your hem allowance is.

Fold the pant hem up to the top pin mark, right sides together. Pin in place.
Use a denim needle or size 110 so that it will be strong enough for all the denim layers.

Stitch right next to the original hem allowance all around the pant leg. Use the free arm if your sewing machine has one.

Trim off the excess fabric above your stitching.

Or you can cut it off and serge it at the same time. Be careful of the bulky areas.


Wear your new jeans with pride!

Sew * Create * Live
jean hem, original jean hem, shorten jeans, shorten denim, jeans, jeans hem, jean original hem, double fold jean hem, double fold hem, jean double fold hem